About Me

My photo
Previously a private banker, now an avid cookie artist and a full time mum of 2 who moved from Sydney to the buzzing city of Hong Kong. I started decorating cookies since Jan 2014 and it's my passion to create cookies that bring a smile on everyone. Facebook Page: http://www.facebook.com/cookieandme

Wednesday, 14 May 2014

Olaf cookies from Disney's Frozen

Let it go~ Let it go-oh~~~


Are you crazy about the Frozen theme song or are your kids driving you crazy screaming the lyrics? I am experiencing both. Here is a fun way to make Olaf the snowman from Frozen. Each piece is individually cut using the DIY cookie template method I leanrt from here. It is a tedious process especially cutting the tiny feet and skinny arms, but once you get through this, Olaf is quite easy to pipe. So just keep imagining the end result to keep you going.

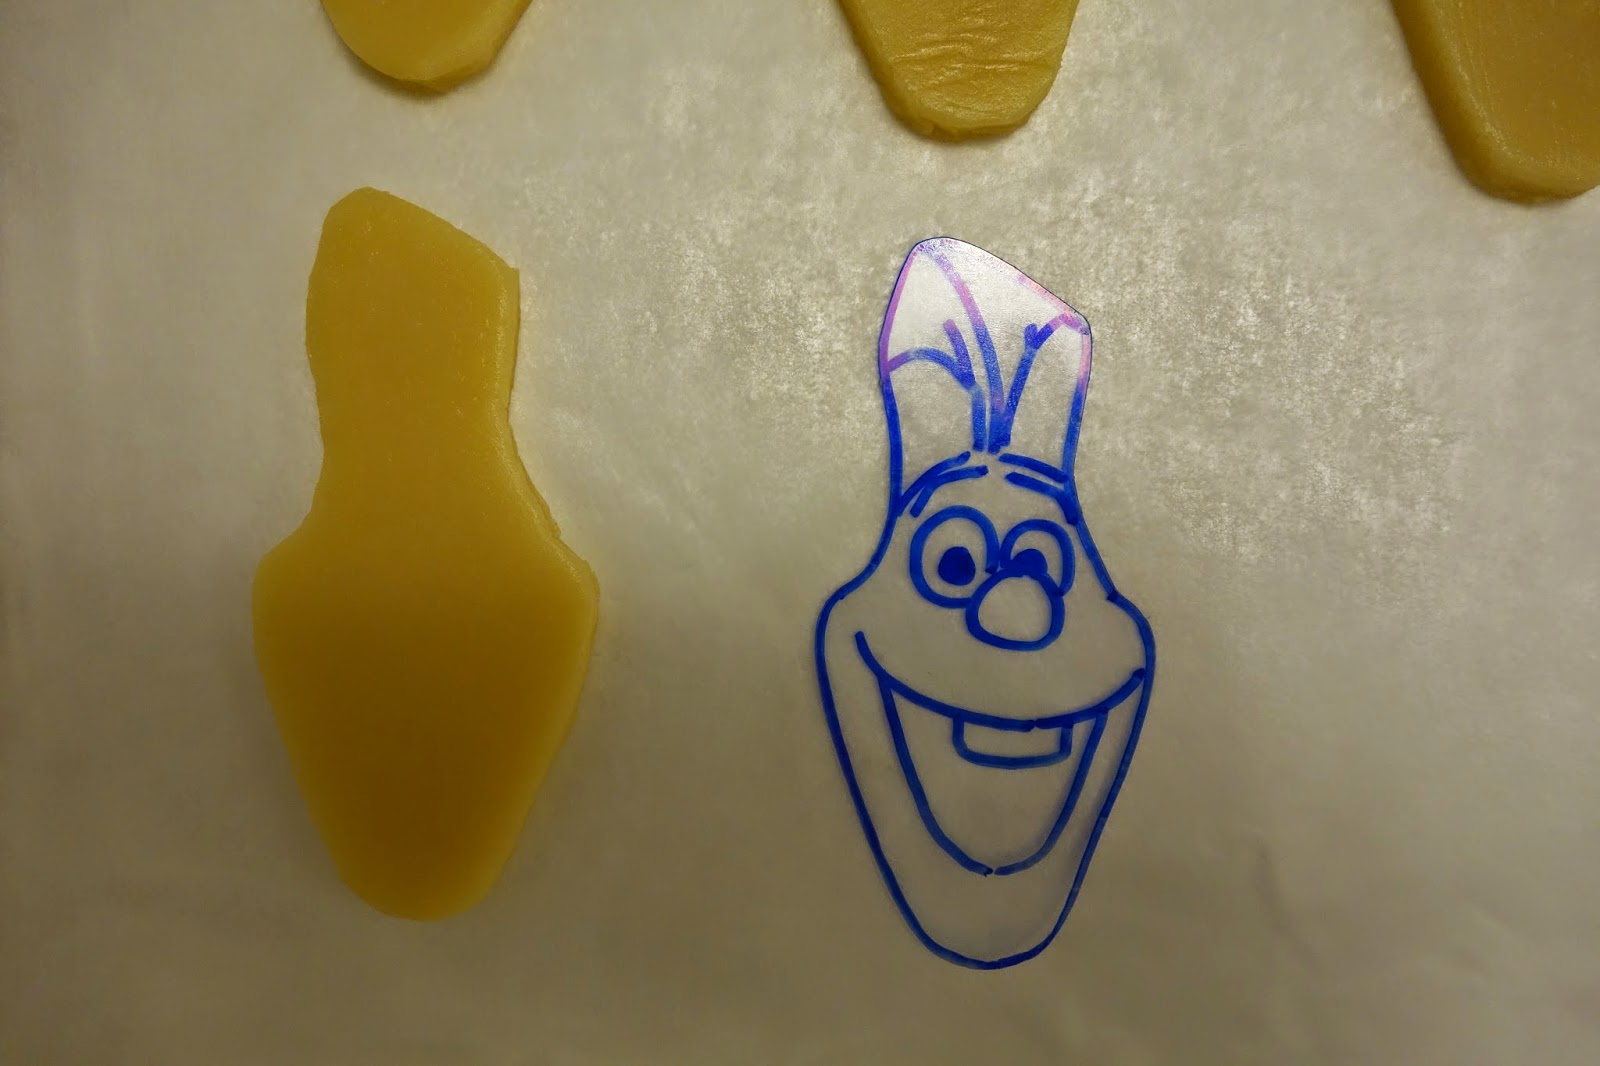
First, choose an image from the internet.


I am adding diversity to the facial expression by piping different face direction.
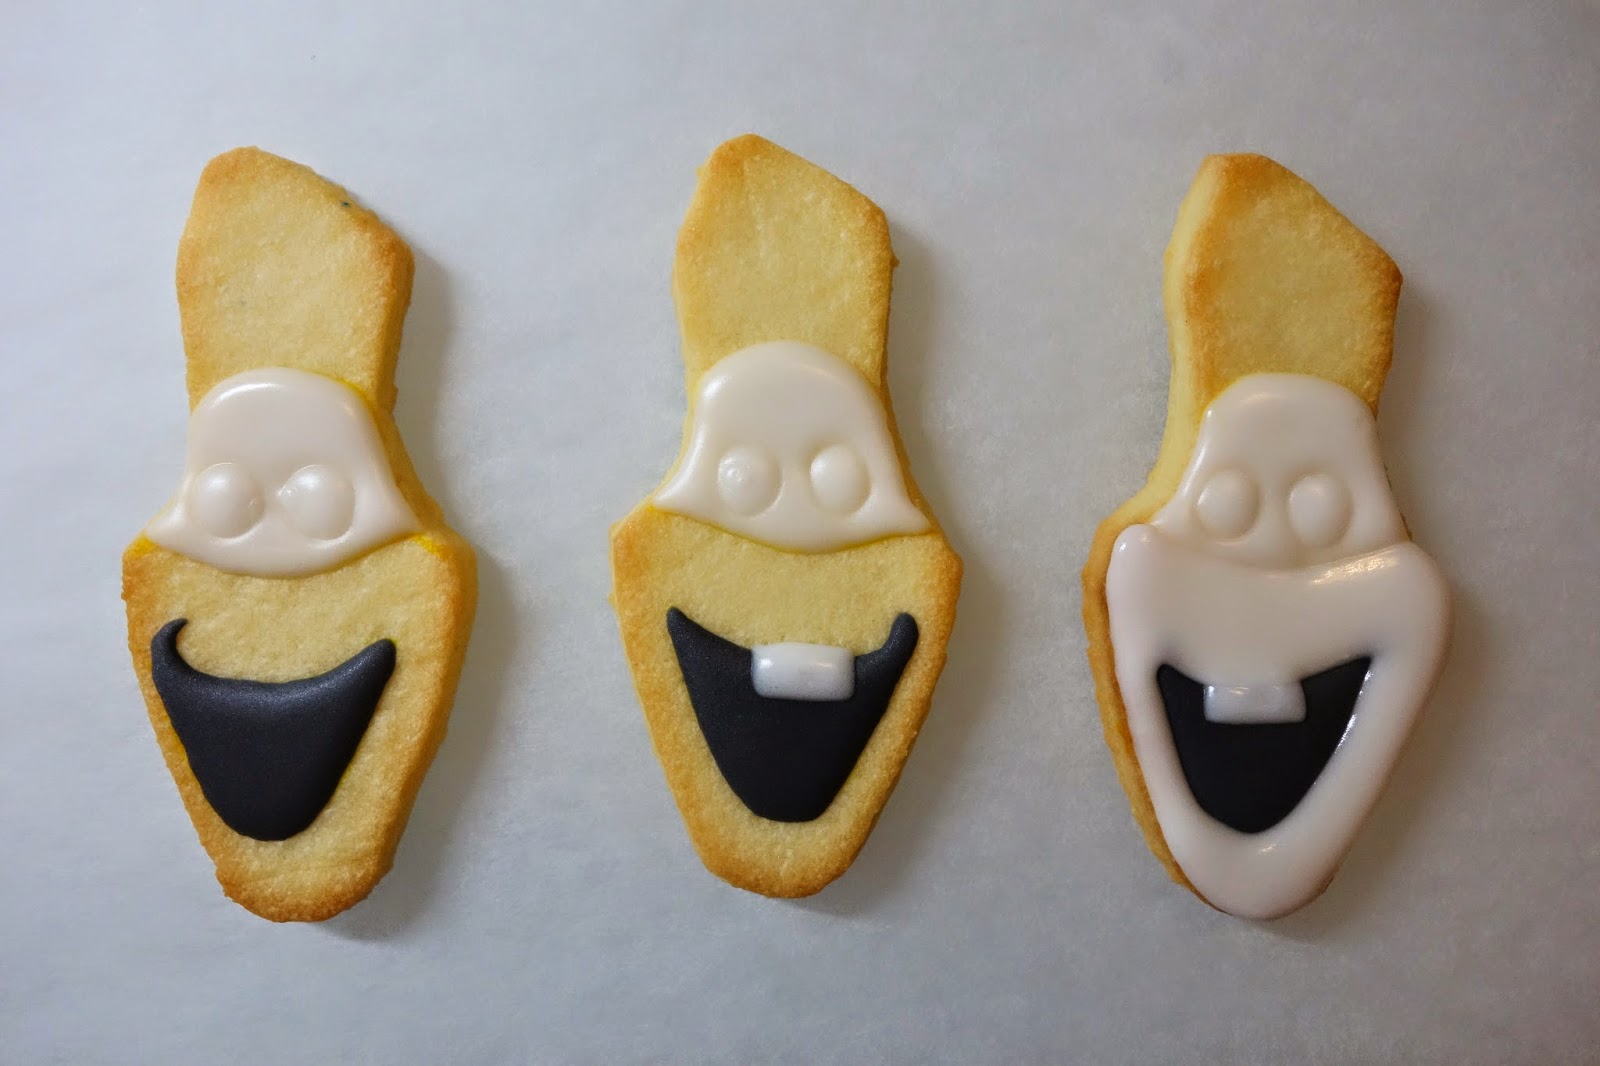

I am trying out the pop out cheek effect (shown first from the left and first right). Wait for the icing to try a bit and then insert the tip right into the cheek and squeeze... to create the pop out effect. Cuteness added!


Tip: Try to pipe as close as you can to the edge.

I don't have a KopyKake projector but my paper cutting skill is not bad. Although, if Santa you can hear me, it's my wish to get a Kopykake this Christmas~


Big Bird Cookie Tutorial

I am using 20 second icing with all the colours.

STEPS:
  • Trace the features of Big Bird onto the cookie with edible marker. I would use a round scallop cutter next time.
  • Pipe eyes and inner mouth as shown below. 
  • Pipe the fur once the eyes are dried. Remember to make squiggly lines around the face.
  • Wait about 30 minutes (room humidity at 65% with soft breeze blowing at the cookies) before piping top part of the beak, wait another 30 minutes before piping the bottom part of the beak.
  • Pipe its hair on top.
  • Using brush embroidery technique, add dimension to it's fur with stiff white icing. I love dimensions!
  • Paint the eyelids with an extremely fine paint brush.


I hope you had lots of fun making Big Bird. Please do share with me on my Facebook Page! Thank you.


Friday, 9 May 2014

Elmo Cookie Tutorial

Lalalala Elmo's song~

One of my best friend's kid loves Elmo (who doesn't?). I am making these for her little one as they visit from overseas. Elmo's laughter is infectious and I remember back in high school, a few of my closest friends gave me a laughting Elmo stuff toy for birthday. It was precious. After more than 10 years, it's still laughing!

Anyway, this is how I made these Elmo cookies and there are steps I would do differently next time.

I use the 20 second icing for all of the icing consistency. The consistency needs to be a bit more stiff due to the humidity in Hong Kong.

STEPS:
Download pictures of Elmo/Cookie Monster/Big Bird and adjust them to the size of your cookie cutter before printing/tracing. Then cut out all the critical parts as shown below.


1) Trace the outline onto the cookie using a food colour pen. Pipe eyes using wet-on-wet technique. *I would change to piping black on dried white icing next time. Pipe the mouth also at this stage, so that later, it will appear under it's red fur instead of on top of it.

2) Pipe the red fur once the eyes and mouth are dried.

3) If you wish to create the furry look, let the icing dry for a minute and then using a toothpick, lift the icing gently up to create fur dimension. If desired peak is not formed, wait and let the icing dry a bit longer before trying again. Tip: Cover the top part of the mouth with 'fur' when the icing is still wet using a toothpick.


I have included a picture of the different fur dimension. Which one do you prefer?


Pipe the nose last when the icing is completely dried.

DONE!


Baby Elmo, Cookie Monster and Big Bird...


'Big Bird' tutorial, please click here.