About Me

My photo
Previously a private banker, now an avid cookie artist and a full time mum of 2 who moved from Sydney to the buzzing city of Hong Kong. I started decorating cookies since Jan 2014 and it's my passion to create cookies that bring a smile on everyone. Facebook Page: http://www.facebook.com/cookieandme

Monday 11 August 2014

Ordering Cookie & Me's Custom Cookies

Cookie&Me creates bespoke decorated cookies, with unique craftmanship focusing on quality. I don't do mass production. Majority of my clienteles are company directors, executive heads, and stay at home tai-tais (太太). I am grateful for each of your continual support and appreciation of my art.


Pricing is competitive with international standards on comparable quality and craftsmanship.
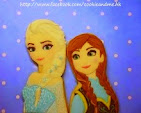
Themed Cookies
combination and design by Cookie&Me
$38/piece
4 - 6 designs
Maximum order: 30 pieces
Standard packaging

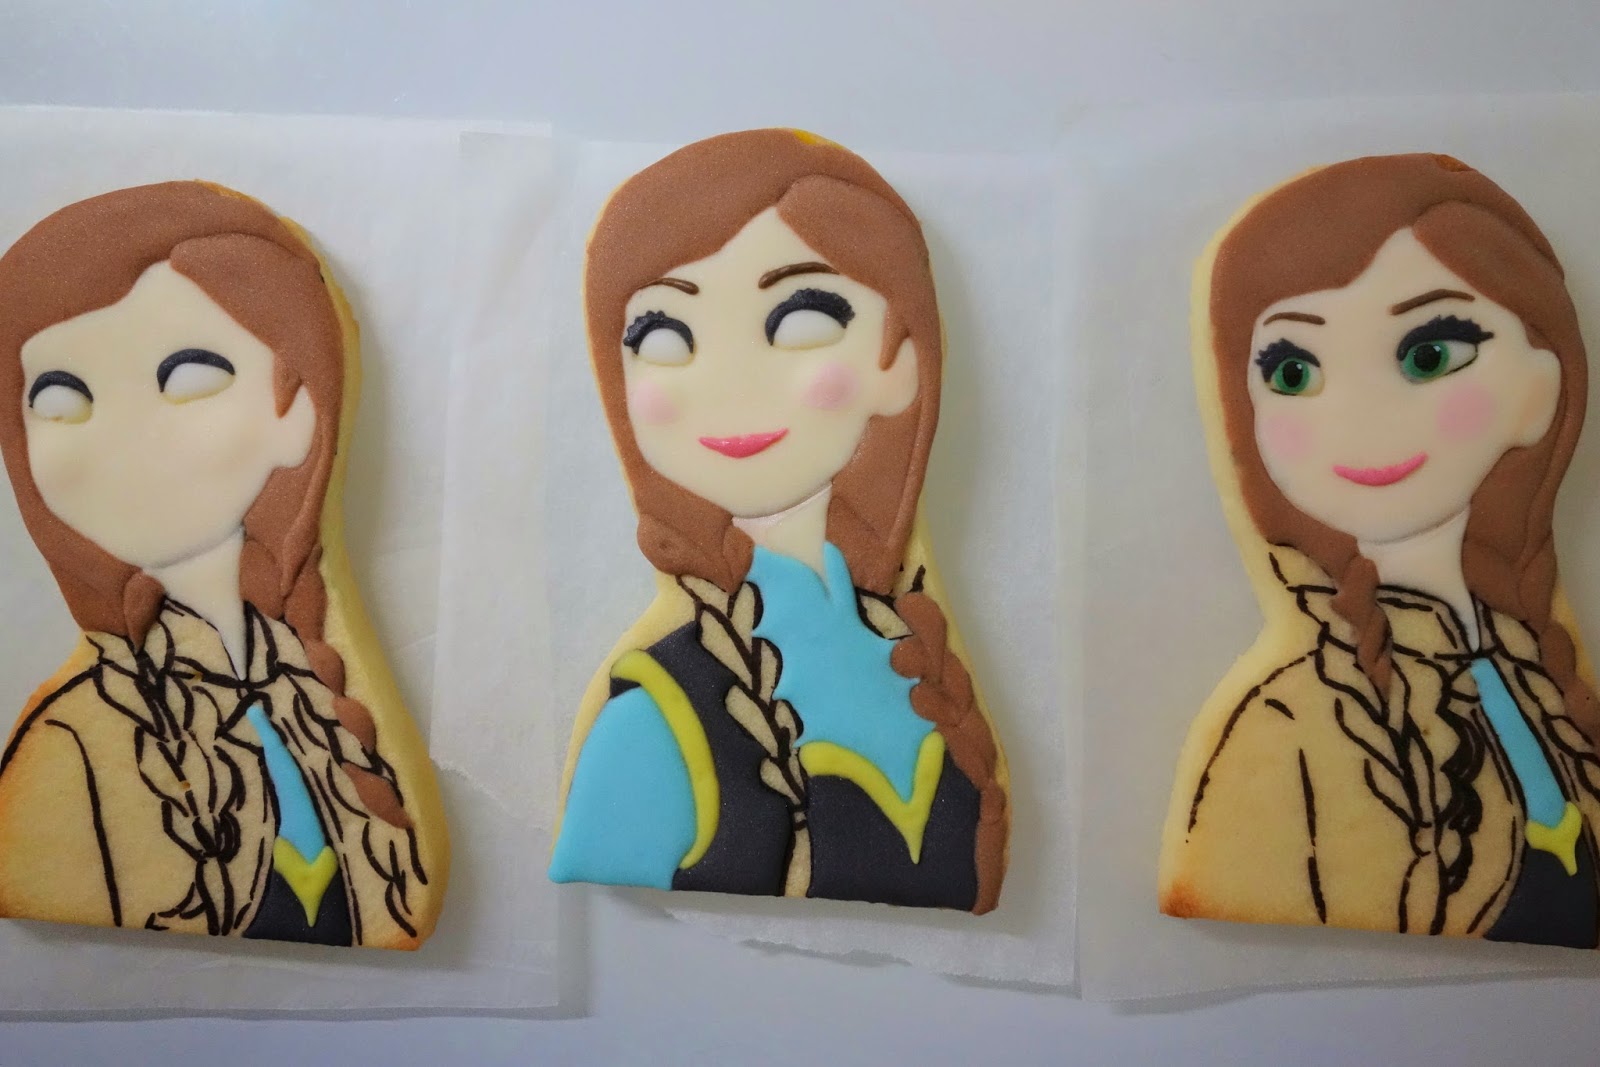
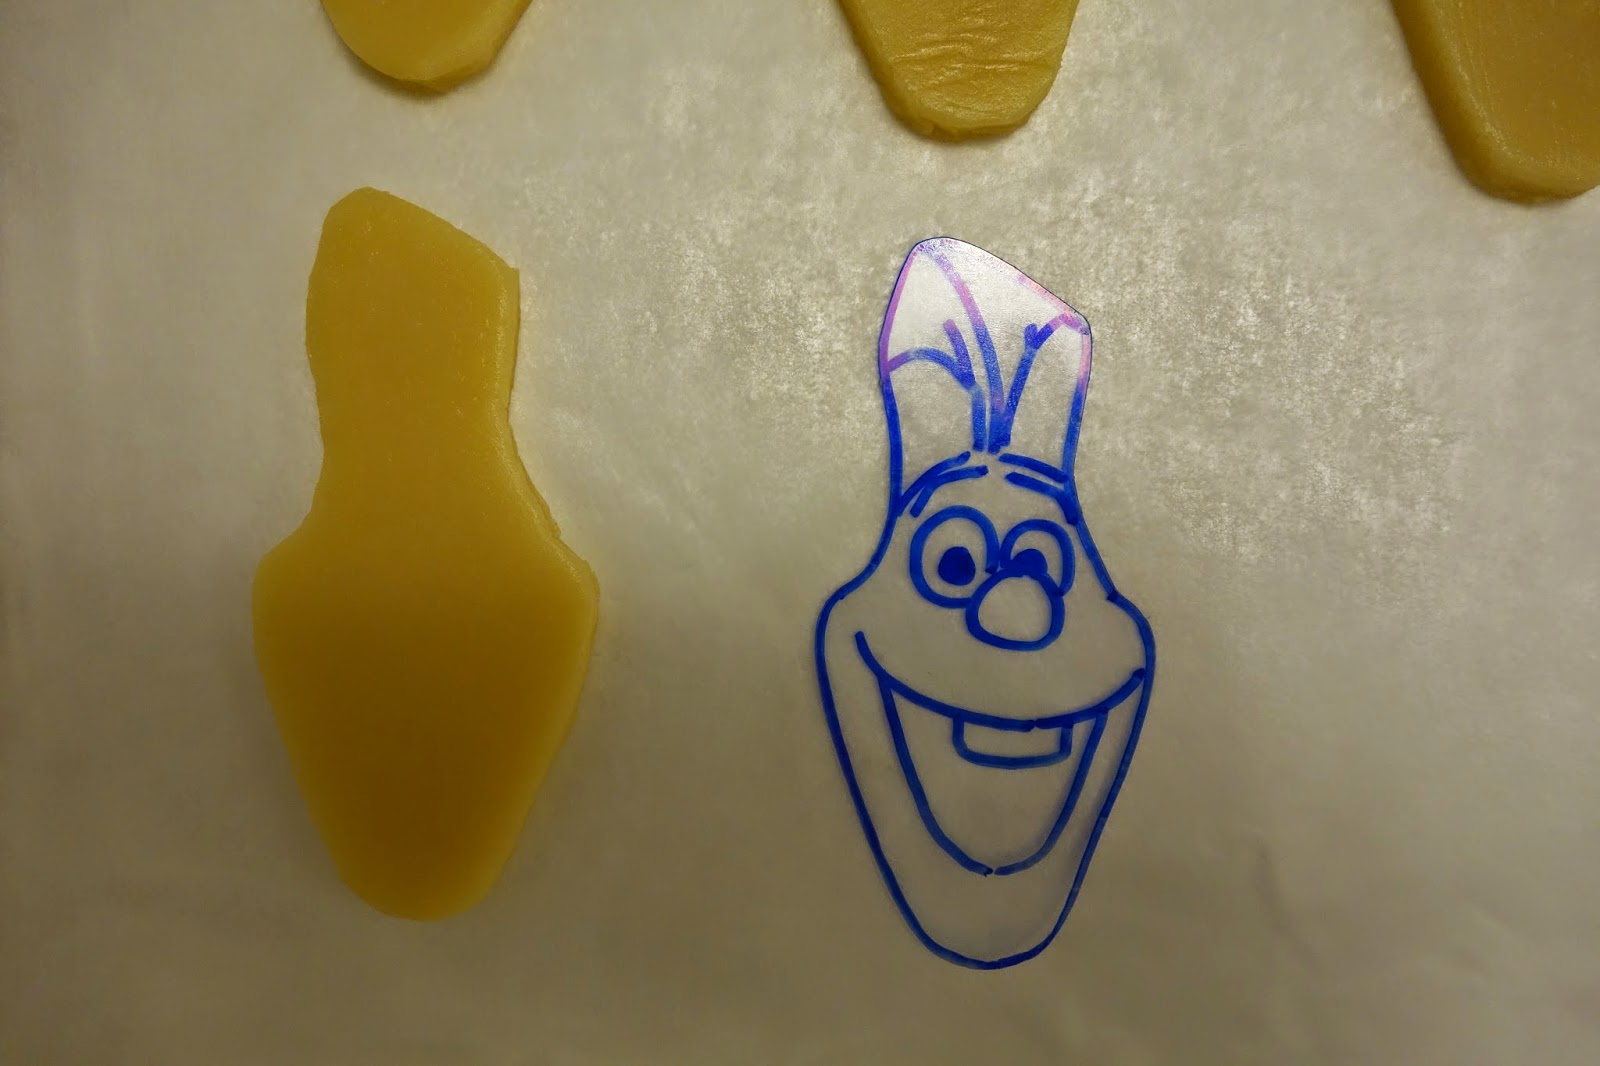
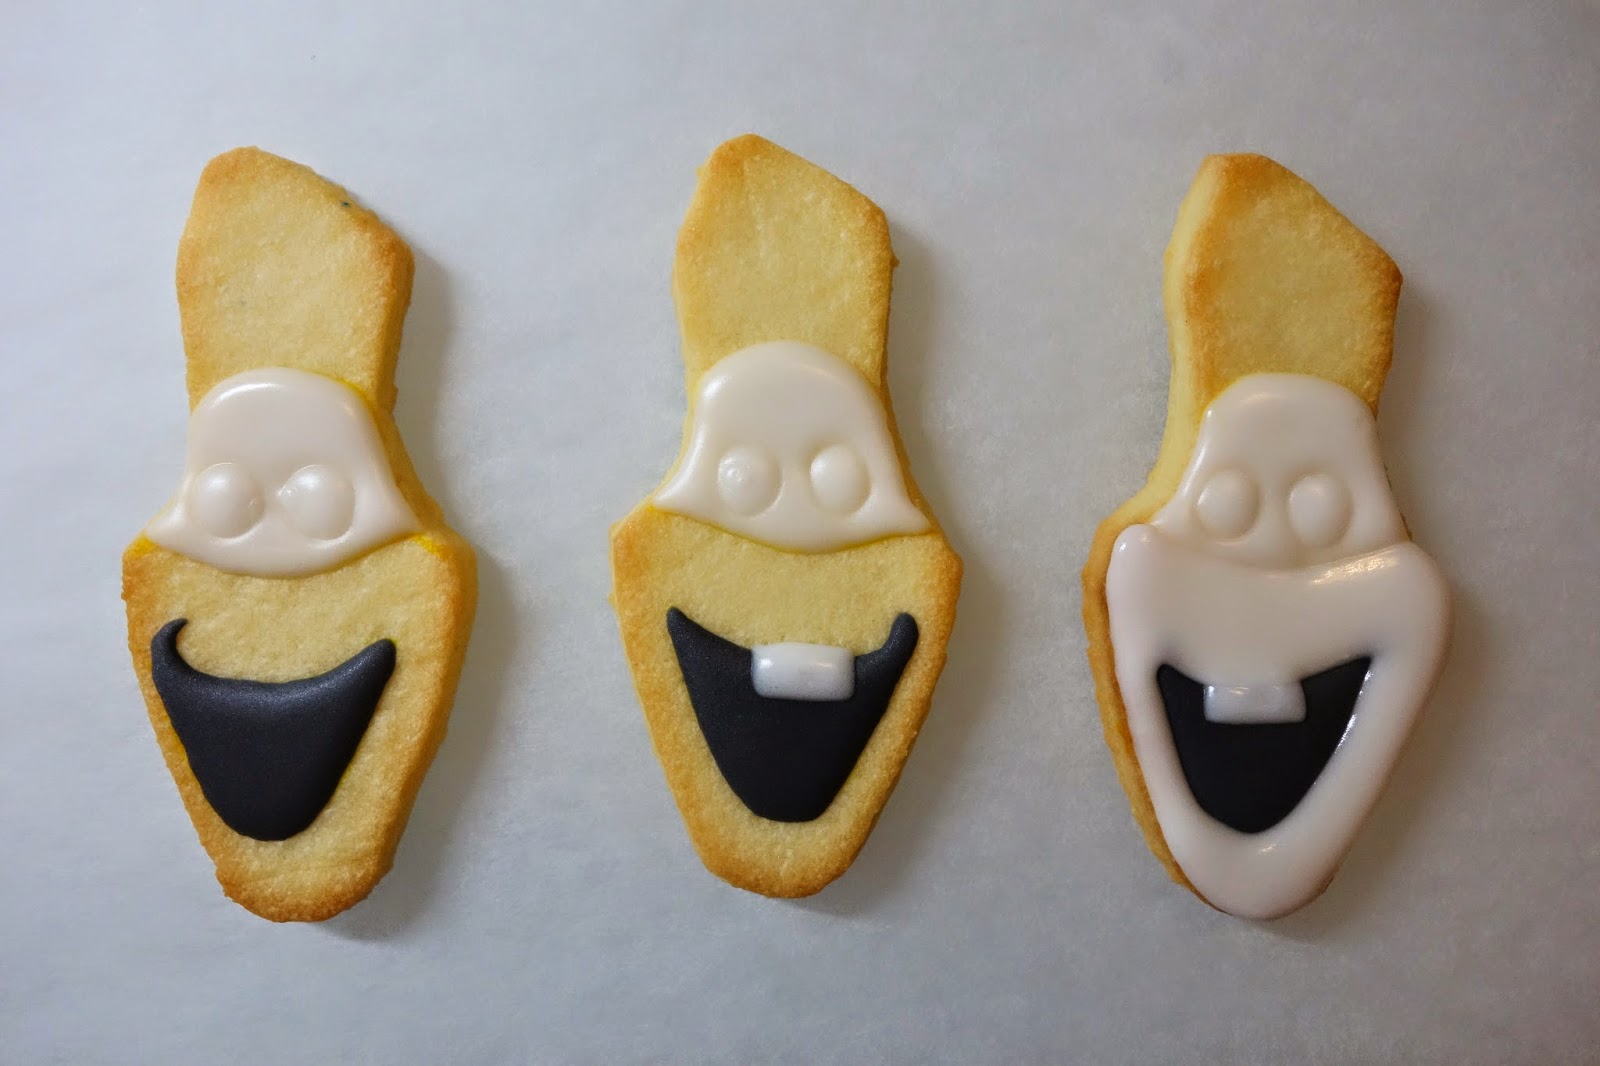
Specific Character Cookies
$45-50/piece
2-3 designs
Maximum order: 30 pieces
Standard packaging

Cake topper set
From $380/set
($120 per extra character)
1 large character cookie + 1 name cookie + 1 age cookie
+ 8 small decorative cookies
Best suitable for 6 – 8 inch round cake.
Not suitable for placing on soft cakes such as mousse cakes


Additional packaging:
Tied bow - $5/piece
Plain box - $10/box
Printing - $5/piece/box


Email cookieandme.hk@gmail.com with information on cookie theme, number of pieces and collection date & time.


Full payment by direct bank deposit within 2 working days.
Order is first in first serve basis.
Once payment is made, there will be no refund, no change of designs, ordering amount and collection date/time.


Pick up at TaiKoo Station / my building (very short distance from Taikoo station)
(Late arrival at MTR station will have to pick up at my building)


All cookies are freshly baked and decorated for each order. I use only fine ingredients. Cookies are individually sealed in food safe bags and packed in one large box. Please BYO a big bag to hold an A4 size flat box/es. Absolutely no broken cookies will be sold, once cookies leave my hands, I cannot be responsible for any breakage. You are welcome to check each cookie upon pick up. 


如何訂購 Cookie & Me 的糖霜曲奇

1) 電郵 cookieandme.hk@gmail.com 留下造型要求曲奇數目收貨日期
2) 付款方式銀行匯款確定款式後請及時付款以確保訂單訂單一經成立恕不接受退款不能更改設計數量提交日期和時間
3) 交收太古站面交或到訪大堂面交 (遲到者需到訪大堂面交

每塊曲奇均有透明保鮮食物袋包裝以確保新鮮.
請存放曲奇在乾燥和涼快的地方並在接收後1星期內食用.
如需存放雪櫃請等曲奇完全回到溫室後才拆開保鮮食物袋或食物盒以避免受潮.

請不要盜用任何原創設計圖像 (給他人)用作任何謀取盈利的用途

非盈利性用途請提及圖像來源 'Cookie&Me HK'

Wednesday 21 May 2014

Frozen Cookie Tutorial - Anna and Elsa color mix

Here is my version of Anna and Elsa from Frozen. I don't have a Kopykake projector (a vertical standing projector which lets you projects any print image onto a cookie) but I can draw freehand. Although I believe having a Kopykake would cut down on the time taken to do these. So please Santa, I have been a good girl this year and I wish wish wish to have a Kopykake for the coming Christmas!


For now, I can only go with the paper cutting method. Kopykake will also improve on position precision...


I do make mistakes, and then I test all the effects and colours on this 'mistake' cookie. Gives me nightmares looking at this...


This time I am trying to pipe the eye area instead of hand painting them. I find it more challenging but the dimension does turn out looking better. What do you think? Most people probably don't care?

Oh, I love making puffy cheeks!


Many colours are involved with Anna and Elsa, here is how I mix them, using Americolor gel...

Anna
Hair - start with a bit of Chocolate Brown + mix in Super Red until desired colour is reached
Hair strand - Ivory + mix in Warm Brown until desired colour is reached
Eye brow - Chocolate Brown + a hint of Super Black
Skin tone - Ivory + a hint of deep pink
Lips - Deep Pink + Super Red + Leaf Green to tone it down
Cloak - Electric Purple + Chocolate Brown until desired colour is reached (paint the darker part)
Inner dress - Lemon Yellow + a hint of Warm Brown to tone it down, Super Black

For more pictures, go to my Facebook Page.

Elsa
Hair - A hint of Lemon Yellow, Ivory and Super Black to tone it down (start very little with each colour)
Skin tone - see Anna
Dress - Sky Blue + a hint of Leaf Green + a hint of Royal Blue to tone it down (also used for Anna's inner dress)
Lighten this with additional royal icing for the cape

I gave up drawing in the 10 years I worked in the financial industry. I have only picked it up again since I begin cookie decorating half a year ago. An Auntie once told me not to ever give up on drawing. Unfortunately, I did give up and I lost my imagination along with it. But now that I have picked it up again, it felt GREAT! So thank you Auntie Vivian for believing in me.


Wednesday 14 May 2014

Olaf cookies from Disney's Frozen

Let it go~ Let it go-oh~~~


Are you crazy about the Frozen theme song or are your kids driving you crazy screaming the lyrics? I am experiencing both. Here is a fun way to make Olaf the snowman from Frozen. Each piece is individually cut using the DIY cookie template method I leanrt from here. It is a tedious process especially cutting the tiny feet and skinny arms, but once you get through this, Olaf is quite easy to pipe. So just keep imagining the end result to keep you going.

First, choose an image from the internet.


I am adding diversity to the facial expression by piping different face direction.


I am trying out the pop out cheek effect (shown first from the left and first right). Wait for the icing to try a bit and then insert the tip right into the cheek and squeeze... to create the pop out effect. Cuteness added!


Tip: Try to pipe as close as you can to the edge.

I don't have a KopyKake projector but my paper cutting skill is not bad. Although, if Santa you can hear me, it's my wish to get a Kopykake this Christmas~


Big Bird Cookie Tutorial

I am using 20 second icing with all the colours.

STEPS:
  • Trace the features of Big Bird onto the cookie with edible marker. I would use a round scallop cutter next time.
  • Pipe eyes and inner mouth as shown below. 
  • Pipe the fur once the eyes are dried. Remember to make squiggly lines around the face.
  • Wait about 30 minutes (room humidity at 65% with soft breeze blowing at the cookies) before piping top part of the beak, wait another 30 minutes before piping the bottom part of the beak.
  • Pipe its hair on top.
  • Using brush embroidery technique, add dimension to it's fur with stiff white icing. I love dimensions!
  • Paint the eyelids with an extremely fine paint brush.


I hope you had lots of fun making Big Bird. Please do share with me on my Facebook Page! Thank you.


Friday 9 May 2014

Elmo Cookie Tutorial

Lalalala Elmo's song~

One of my best friend's kid loves Elmo (who doesn't?). I am making these for her little one as they visit from overseas. Elmo's laughter is infectious and I remember back in high school, a few of my closest friends gave me a laughting Elmo stuff toy for birthday. It was precious. After more than 10 years, it's still laughing!

Anyway, this is how I made these Elmo cookies and there are steps I would do differently next time.

I use the 20 second icing for all of the icing consistency. The consistency needs to be a bit more stiff due to the humidity in Hong Kong.

STEPS:
Download pictures of Elmo/Cookie Monster/Big Bird and adjust them to the size of your cookie cutter before printing/tracing. Then cut out all the critical parts as shown below.


1) Trace the outline onto the cookie using a food colour pen. Pipe eyes using wet-on-wet technique. *I would change to piping black on dried white icing next time. Pipe the mouth also at this stage, so that later, it will appear under it's red fur instead of on top of it.

2) Pipe the red fur once the eyes and mouth are dried.

3) If you wish to create the furry look, let the icing dry for a minute and then using a toothpick, lift the icing gently up to create fur dimension. If desired peak is not formed, wait and let the icing dry a bit longer before trying again. Tip: Cover the top part of the mouth with 'fur' when the icing is still wet using a toothpick.


I have included a picture of the different fur dimension. Which one do you prefer?


Pipe the nose last when the icing is completely dried.

DONE!


Baby Elmo, Cookie Monster and Big Bird...


'Big Bird' tutorial, please click here.


Wednesday 7 May 2014

Mother's Day flower and vase cookie

Shout out to all the mothers out there - HAPPY MOTHER'S DAY. Then again, I think it's mother's day EVERYDAY!


I was so convinced that I am going to write a step by step process with this set of cookies, but... have you ever been so concentrated in doing something that you completely ignore/forget what the world is like around you? No, this is not a mother still having a baby brain. But... because this is my first time on trying out the brush embroidery, I was so into it that I completely forgot to take photos of the steps.

Here's the process in words only...
Leaves
- Pipe one side using 20 second icing, let dry for 20 minute or so (preferred humidity 60-65%) then pipe the other side to create the layer effect.
Flowers
- Flood the flowers and let completely dry before the next step of brush embroidery. Tutorial at SweetAmbs.
Tip: I find it easier to brush with a wet brush tip (dip it in clean drinking water), blot dry on clean squeeze dried wet towel before brushing the strokes.
Vase
- Flood the vase, let dry completely and pipe patterns of your choice.

These look so elegant, I'm sure you are going to see me practicing a lot more brush embroidery for the cookies to come~


Monday 28 April 2014

Totoro Cookie

A couple of years ago my elder daughter was in an international class and her classmates were all from different countries. It is a sad thing to see that all her friends either went back to their country of origin or moved on to other international schools.

This particular Japanese mother friend with two daughters is coming back for a visit and we are going to catch up tomorrow. She wishes to order a Tiffany Box. So I made one for her and I am also going to give her a 3D Totoro set as a surprise!

Steps:
1) Print images from the internet
2) Cut out the image and put them over the cookie dough to cut out the shapes
3) Cut out as shown in below picture and place them on the baked cookie to trace outline


4) Pipe them!


5) Glue them with royal icing and take beautiful pictures!


Awww~ They look so cute in every angle!

How to make the log? See here.


Sunday 27 April 2014

金秀賢香港站的定購 Kim Soo Hyun Hong Kong fan club's order

多謝'金秀賢香港站'主腦們的欣賞並定購了曲奇作為給金秀賢訪港的禮物。希望他收到後會在這刻忙碌與困難的時候(悼念歲月號遇難者)安慰的一笑。Fighting~

I'm both honoured and thrilled to have received 'Kim Soo Hyun HK - side by side' fan club's order. Knowing that my handmade cookies were going to be in Kim Soo Hyun's hands made me sooo excited!!!!!

Photo courtesy of 金秀賢香港後援會

A total of four designs wished by the fan club leaders:


Approval on transformed comical images:


Cookie-fied version:


Presents from the HK fan club:

Photo courtesy of 台灣金秀賢TSH粉絲團

Behind the scene: facial details were drawn on freehand with food colouring.


Thursday 10 April 2014

學做糖霜曲奇 Decorated Cookie Tutorials

有不少人問我會否開班教做糖霜曲奇, 其實我也很想分享我的心得與技巧, 但身為兩幼女之母, 經考慮之後, 實在是抽不出時間。但如果你真的對糖霜曲奇很有興趣, 這裡我搜集了一些很有用的網頁, 也是我最經常參考的地方。

Sugarbelle 是我經常提起的網頁, 其實在糖霜曲奇界幾乎沒有人不知道她是誰。她真的是充滿創作力。她的網頁包含了所有糖霜曲奇的需知, 是初學者的好地方。首次做糖霜曲奇前(1/2014), 我花了一個月的時間'study'她的tutorial和make notes, 她是令我愛上糖霜曲奇的最大影響力。

SweetAmbs 人如其名, 她真的很sweet, 所以她的作品讓我看起來也有甜蜜細綺的感覺。她的作品比較elegant, 精細, 看得出每個曲奇都很細心地做出來的(她必定也是個很細心有耐性的人吧)。如果你想做一些精細的糖霜曲奇, 她的tutorial是一流的喇!

Jill's Sugar Collection 是日本的cookie decorator, 原為nail artist。我很喜歡和常參考她的蕾絲作品, 當然, 身為藝術家, 我很想畫出屬於我自己風格的蕾絲。

De Koekenbakkers 是位荷蘭人, 我喜歡她的3D曲奇。我轉了曲奇recipe, 已在用她的, 比較香脆, 很好美o奧!

希望這些能幫助啟發你做糖霜曲奇的技巧, 也歡迎你能和我分享一些心得!

If you love decorated cookies like I do too, below are some very useful websites where I frequent and learn all the techniques from. Enjoy!

Sugarbelle is one of the most famously known cookie decorator out there (in Texas, US). She has immense creativity. I love her simplicity and colour coordinations. I learnt nearly everything from her website and it has the most profound influence on my decision to become a cookie decorator. It is a beginner must visit!

SweetAmbs likewise is a very sweet person I think. Her work involves intricate details and patience. I love her tutorials. I have yet to chanllenge myself on the basket woven.

Jill's Sugar Collection is a nail artist turn cookie decorator from Japan. I looove her lacework. I hope that some day I can create my own style of lacework.

De Koekenbakkers is from the Netherlands. I adore her 3D cookies. I have also adopted her cookie recipes because I love a crunchy buttery cookie, mmm, yum!

So there you go, I would also love to hear from you on your cookie decorating journey and share our experiences!


Monday 7 April 2014

Sofia the First cookies

Which little girl doesn't like Disney's latest princess Sofia? I have been ask by a few mums if I will be making Sofia and my response was, 'Maybe later', however, I actually can't wait to challenge myself to make these!!! I must admit, the details were killing me at some stage and I thought of giving up, why did I even go to this length of details on a tiny piece of drawing platform??? But, I persisted because I am crazy about cookie art!


Here's the process...

1) The full length Sofia is 5-inches long. I combined a slipper cutter and a tweaked heart shape cutter for her dress.


2) Trace the outline of Sofia with food colour pen and pipe the outline


3) Let it dry and fill in the hair. Then start piping the dress with 20 second icing.


4) Paint the details.
(For the dress, 4-inches, I used a small tomb stone cutter and a tulip cutter for the bottom)


Wednesday 2 April 2014

來自星星的你

第6個記錄 (My 6th set of cookies)

紅遍全亞洲的韓劇"來自星星的你"你看過了吧! 相信你也愛上了都叫獸了吧! 真的, 身為韓劇迷的我, 每次看了一齣好看的韓劇後, 都會愛上男主角的, 這就是韓劇的魔力!


來自星星的你 曲奇 製作過程

1) 畫了3個design才滿意。都敏俊的特徵很易認(那嘴角), 千頌伊雖然很美(從"野蠻女友"時已很喜歡全智賢), 但很難特出是她, 想了很久, 給她帶個髮帶吧


2) 自製曲奇模... 小心切... 小心切...


3) 畫輪廓, 其他的要freehand, 除非有Kopykake這個神器。好想要呀~ 但美國的郵費很貴呀>_<


4) Outlining and piping


5) Painting with food colouring gel, 小時候就很喜歡"畫公仔", 大個了畫在餅上。

太專心了, 忙了影相...

6) DONE! 免費送給都Manager迷, 請'Like'我的Facebook專頁: Cookie and Me 和留言給我。


多謝你的觀賞。每個曲奇都是我心血結晶品, 如果你喜歡我的作品, 請留意和'Like'我的Facebook Page: Cookie and Me 我會努力製作更多漂亮的曲奇, 希望能夠給你和朋友們驚喜。

THANK YOU!


Total production time (13 heads + 10 stars): baking + mixing colours + piping & painting = 16 hours


Tuesday 1 April 2014

Tiffany box cookie

I have been thinking a lot about 3D cookies lately, ever since I made the 3D duck cookies I have been brainstorming ideas. It's my best friend's birthday coming up and I instantly thought of a cookie box that suits her love of Tiffany&Co, so here it is...

Custom made 3D Tiffany&Co cookie box for a special someone.


My husband (who has two engineering degrees) doubted me about my maths skill used to construct the boxes *grump*. It turns out my calculation is perfect. Phew!

This also makes a great Valentine's Day or Wedding Anniversary gift!


I love the application of jittery glitters...


This time I am using chocolate butter cookie as the base. It took me one whole day of decorating (two boxes plus six rings). Here is a snapshot of the process...


and my perfectly calculated cookie template...